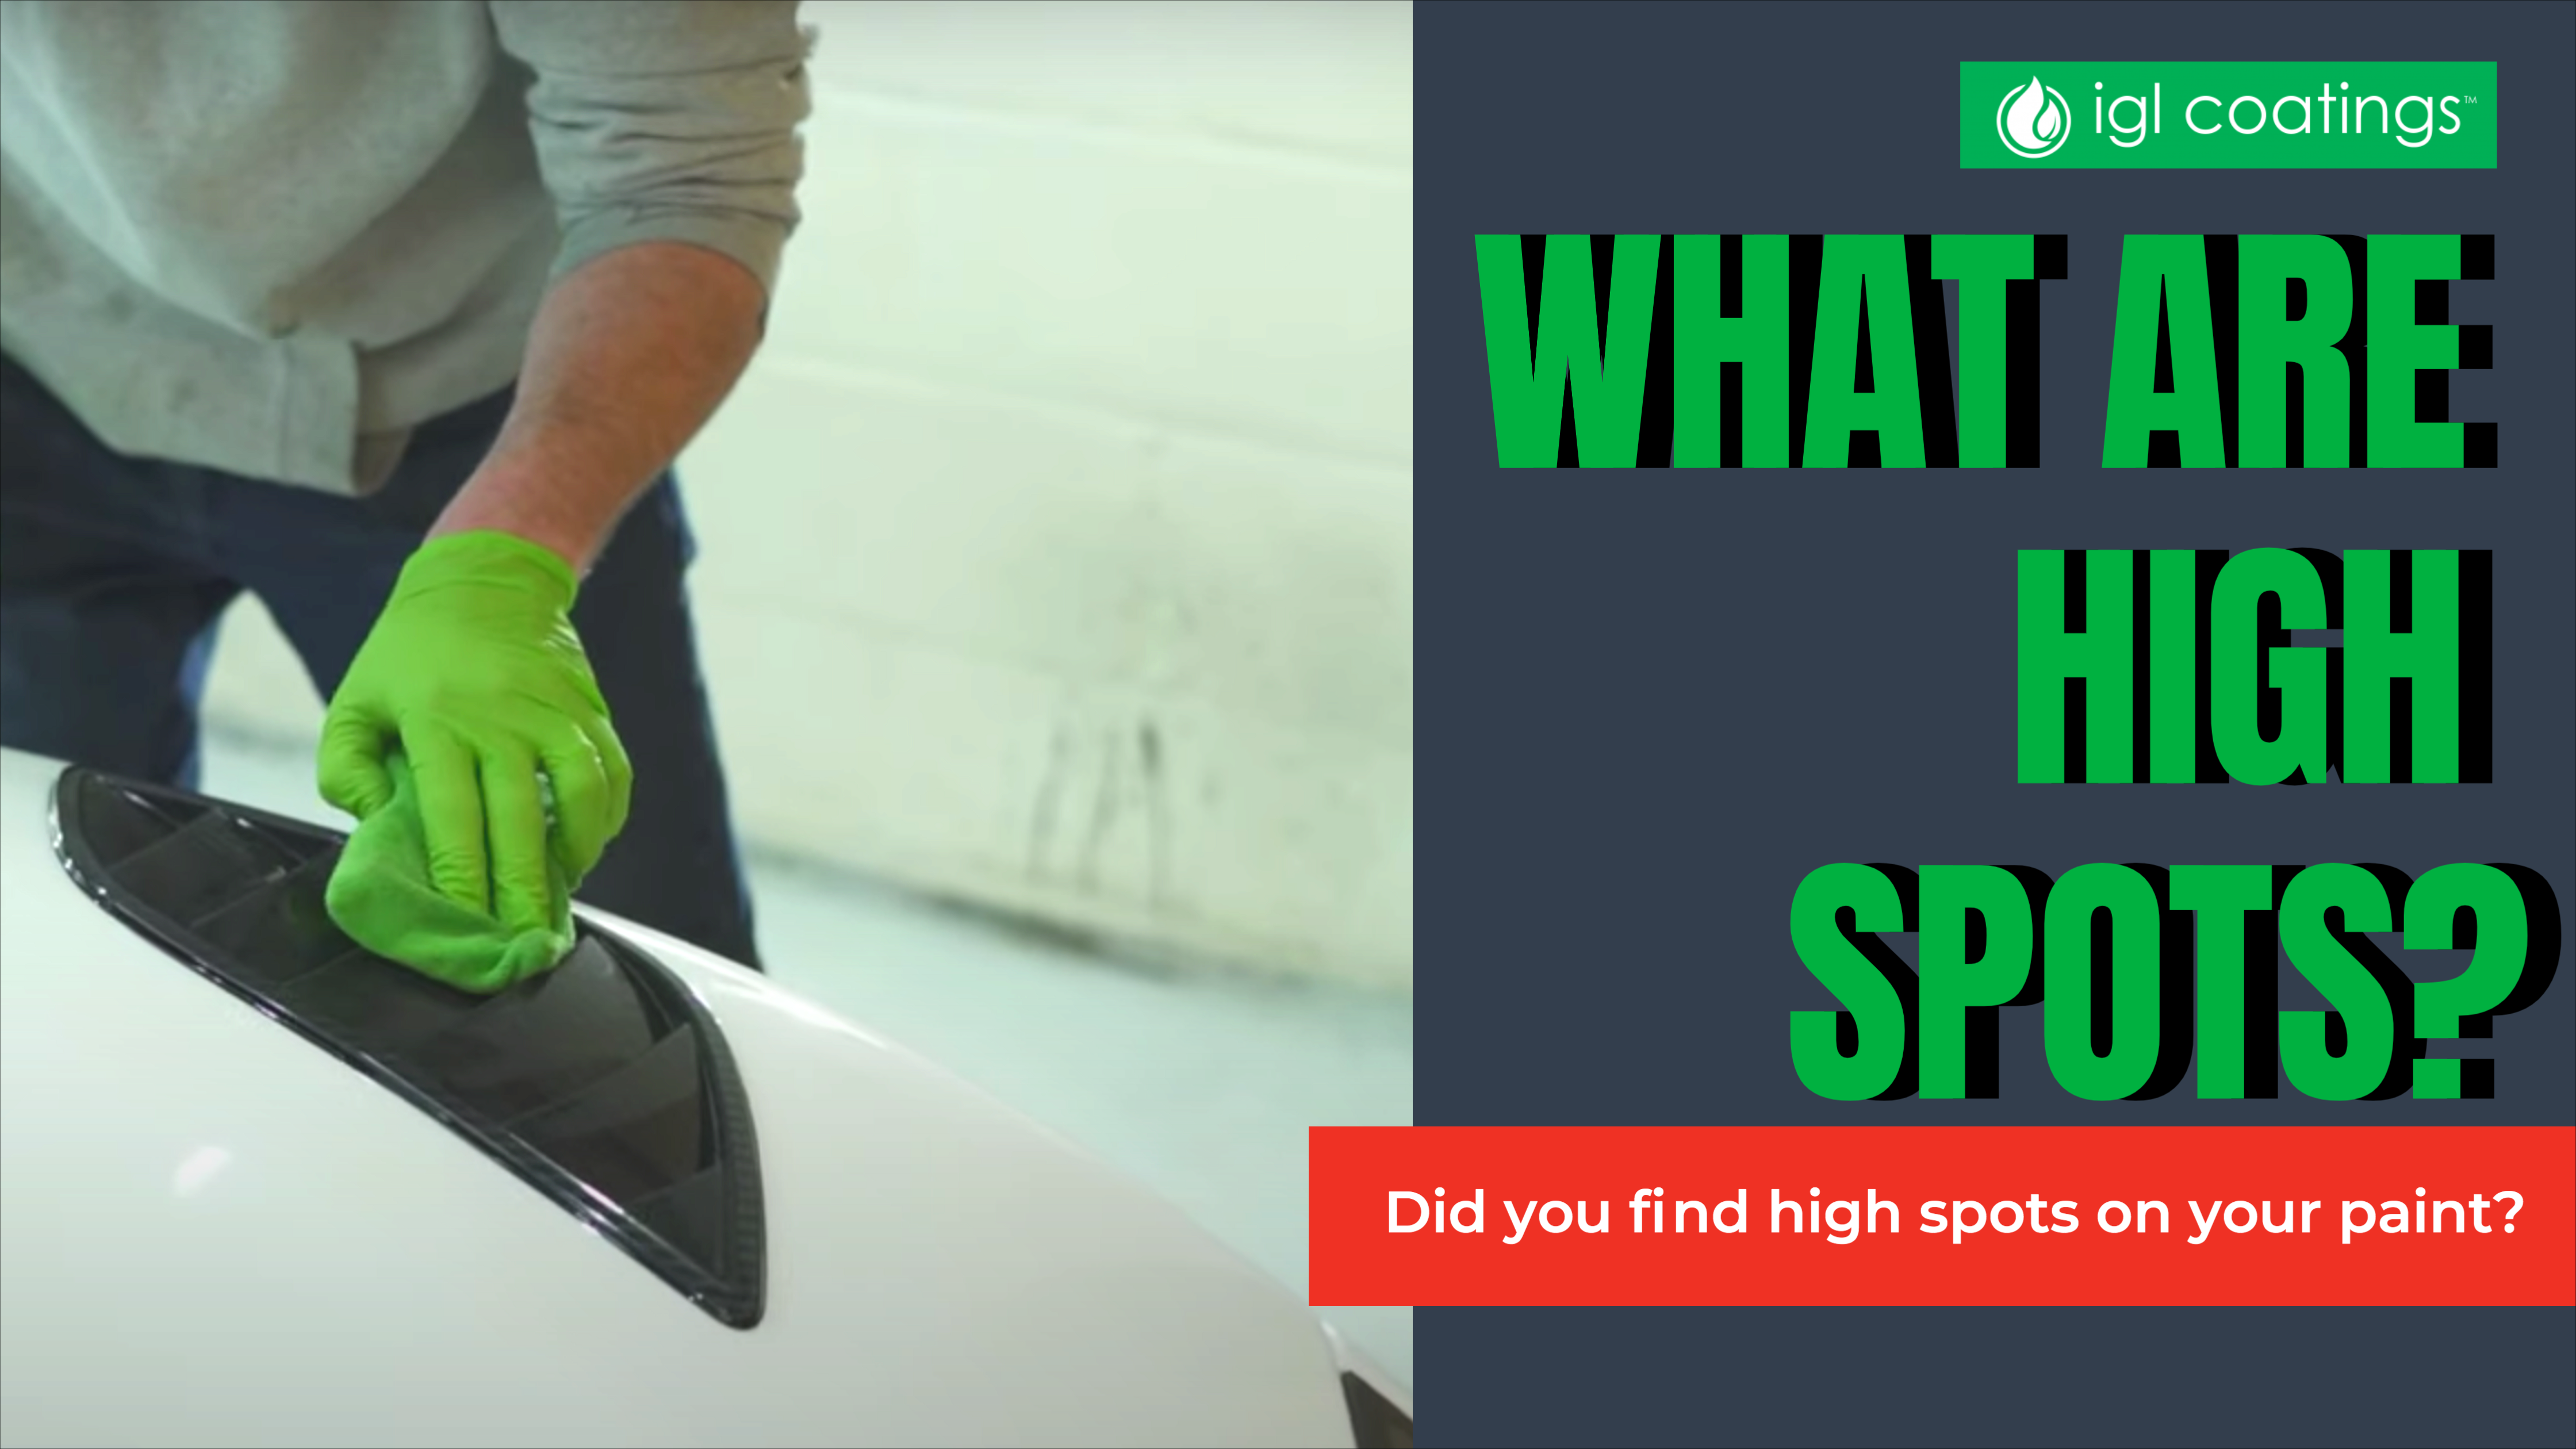
As detailers or experts on ceramic coatings, you need to be wary of the dos and don’ts of ceramic coating application. Unavoidably, one of the most common problems is high spots! That rainbow-y, oil slick like looking sheen on your surface.
Let’s take a look at what causes high spots, and how to avoid them. Don’t worry, we are not going to bore you with the technicalities. We’ll keep it simple. Let’s go!
“What are high spots?”
High spots are a result of un-levelled ceramic coating which has cured or is in the curing stage. One of the key factors contributing to high spots is poor buffing technique or inadequate leveling. Most ceramic coatings need buffing off or levelling, even retail available ones. But why do you need to level a coating? Aren’t coatings self-levelling?
Detailer Tip #1💡: Apply the coating in straight even lines and avoid lifting the product up while applying to prevent areas of inconsistent concentration.
Levelling is required as coatings can be applied unevenly (which is totally normal btw!). When applying any coating, the applicator pad/sponge used by the detailer may carry more or less product, spreading the coating unevenly in different areas. Pressure applied during application also plays a major role. This clears up why most detailers opt for an application block!
Just like butter, a coating needs to be spread evenly across the surface for a perfect finish. When applying, a detailer may inadvertently use more product, causing the initial areas to be thicker than the rest.
Picture spreading thicker wads of butter onto a single slice of bread. As you may have experienced, a (cold) wad of butter needs to be gently spread across the bread to ensure even coverage. Sometimes, requiring more spreading!
However, unlike butter, ceramic coatings are microns thin and transparent! But here’s how we get around it! Buff off the excess coating with a microfiber cloth. This removes any excess coating and levels the coating evenly on the surface.
Detailer Tip #2💡: Work on small sections, one at a time of any vehicle you are coating.
Working in planned small sections at a time allows you to identify which areas you have completed, reducing any chances of missed spots or extra layers. This also makes it easier to work with the curing times for each panel, knowing which was applied first and working through that.
“How do I identify a high spot?”
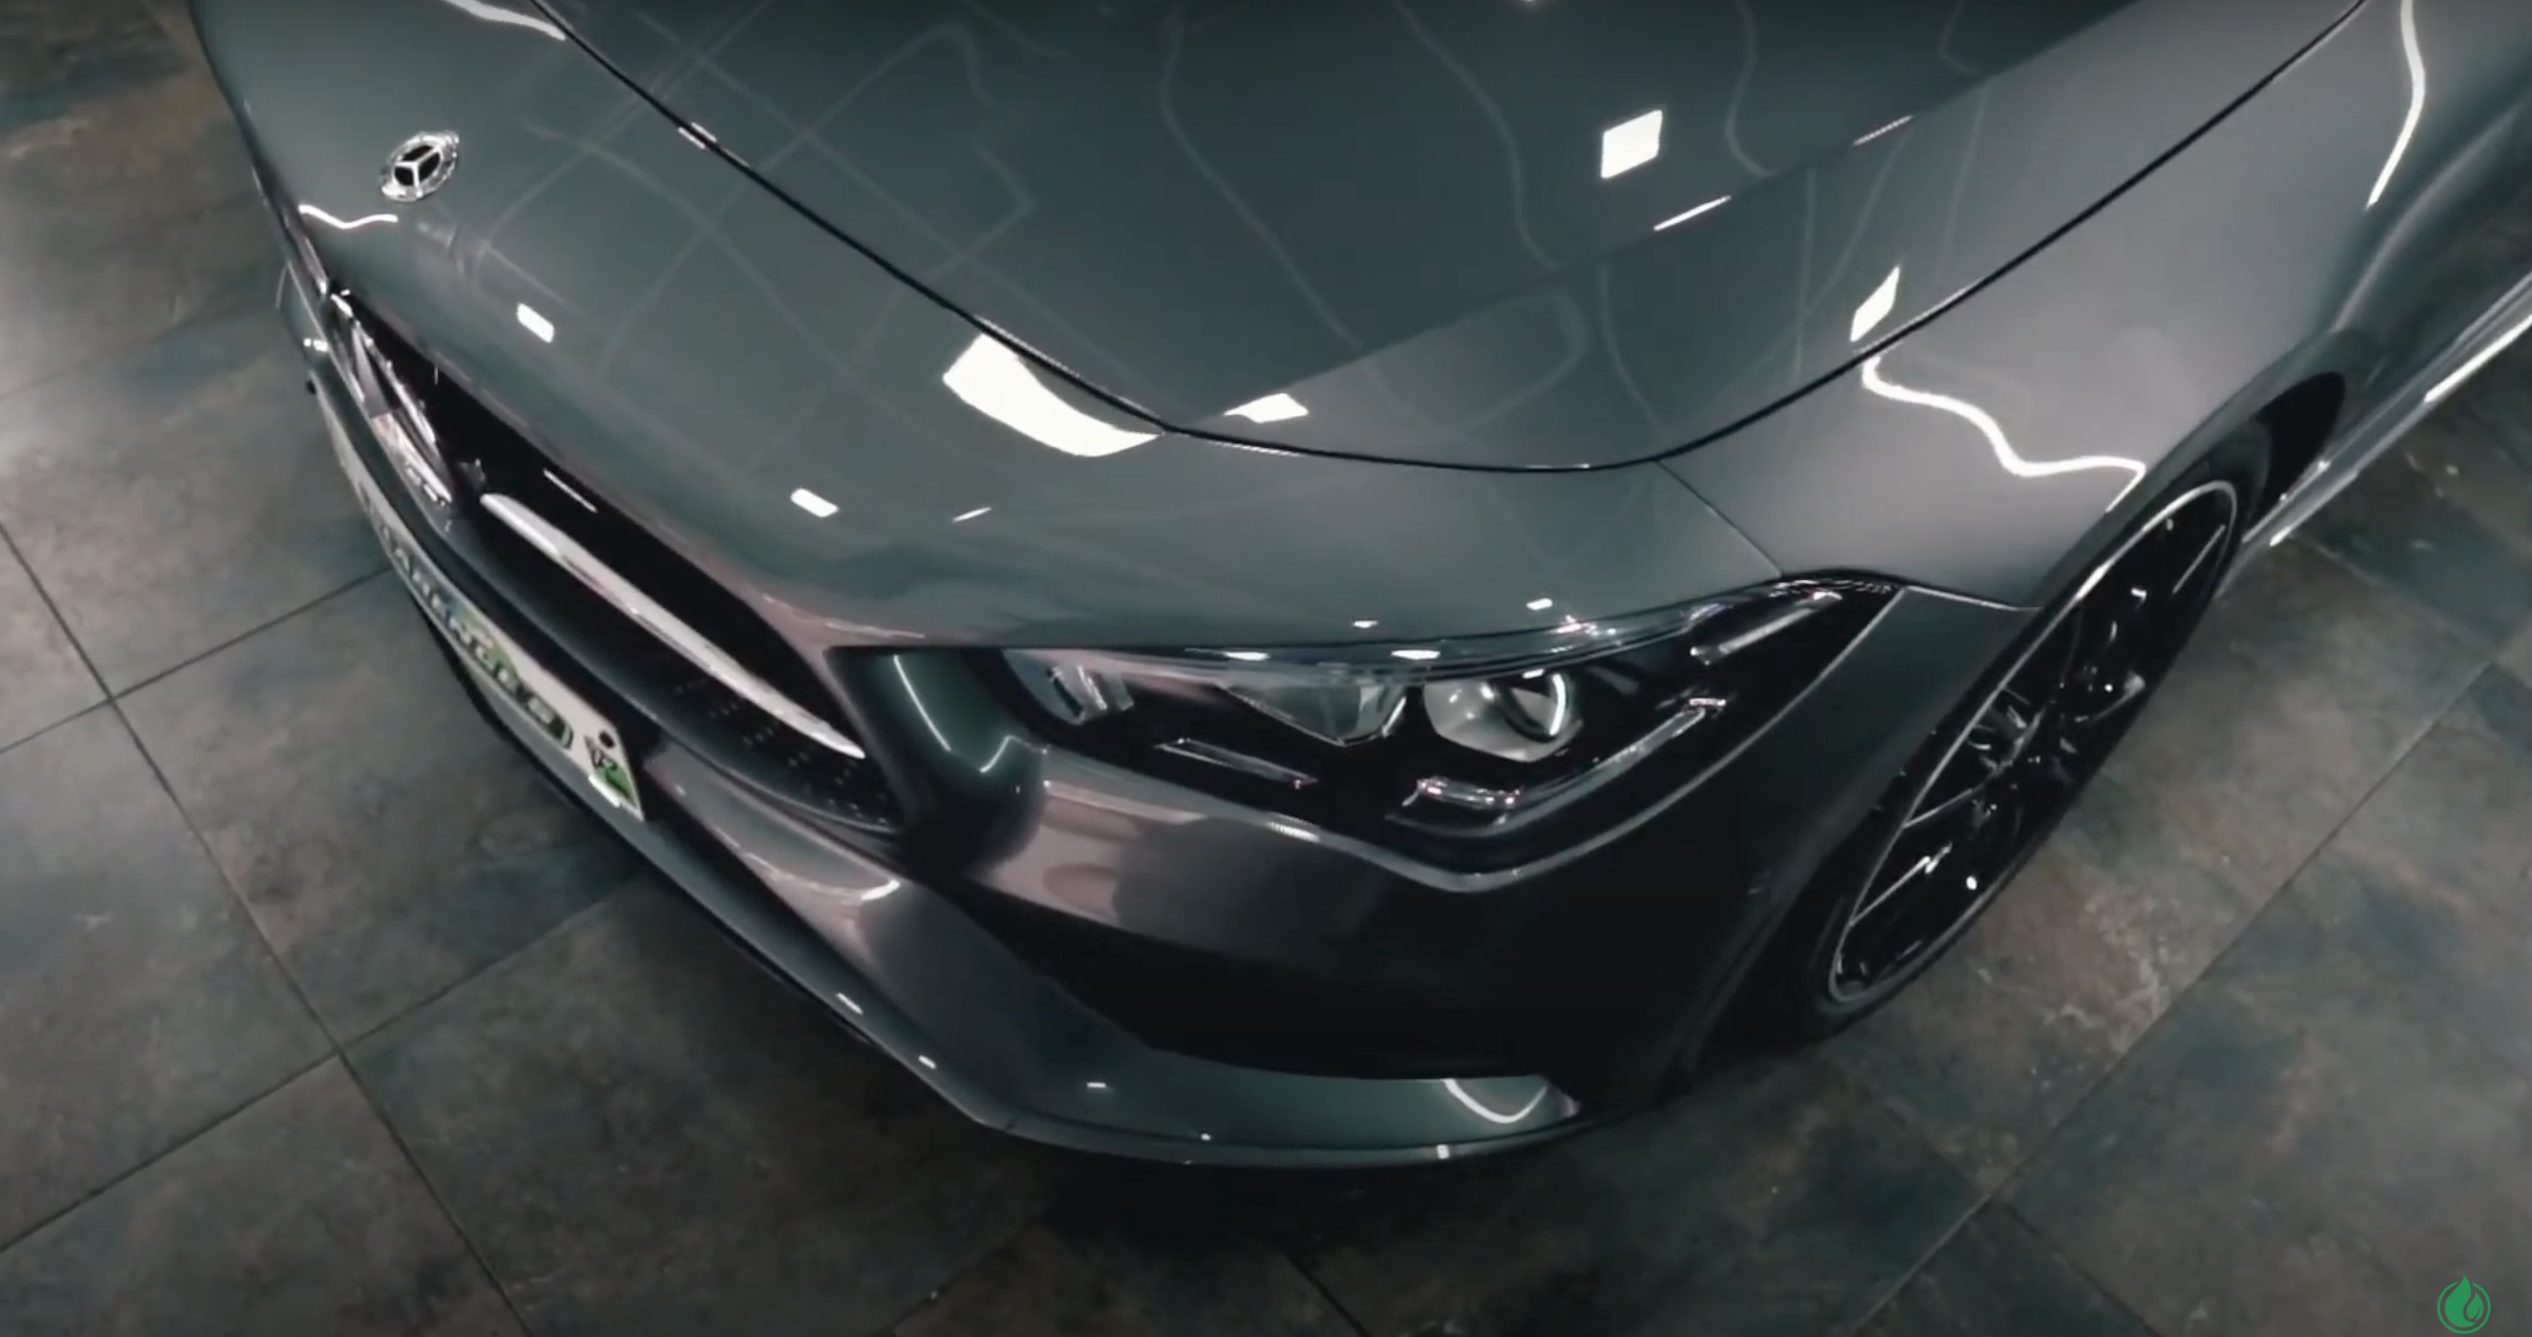
High spots are darker patches or rainbow-looking streaks on your paint. Usually, more visible once it is cured. However, high spots can be a bit tricky, as they have the ability to hide well in low lighting. With appropriate lighting, high spots can be visible, even to the untrained eye. Professionals rely on proper lighting equipment to illuminate the surfaces, making them easier to spot.
If you don’t have a lighting setup, you can also inspect your car outdoors. A cloudy sky is perfect for inspecting as it emphasizes the dark patchy areas and rainbow gleams. Direct sunlight gives the illusion that the coating is levelled perfectly. It also cures the coating FASTER, which you don’t want if there are any high spots that you may want to fix.
Detailer Tip #3💡: Lighter coloured cars usually require flashlights to detect the high spots.
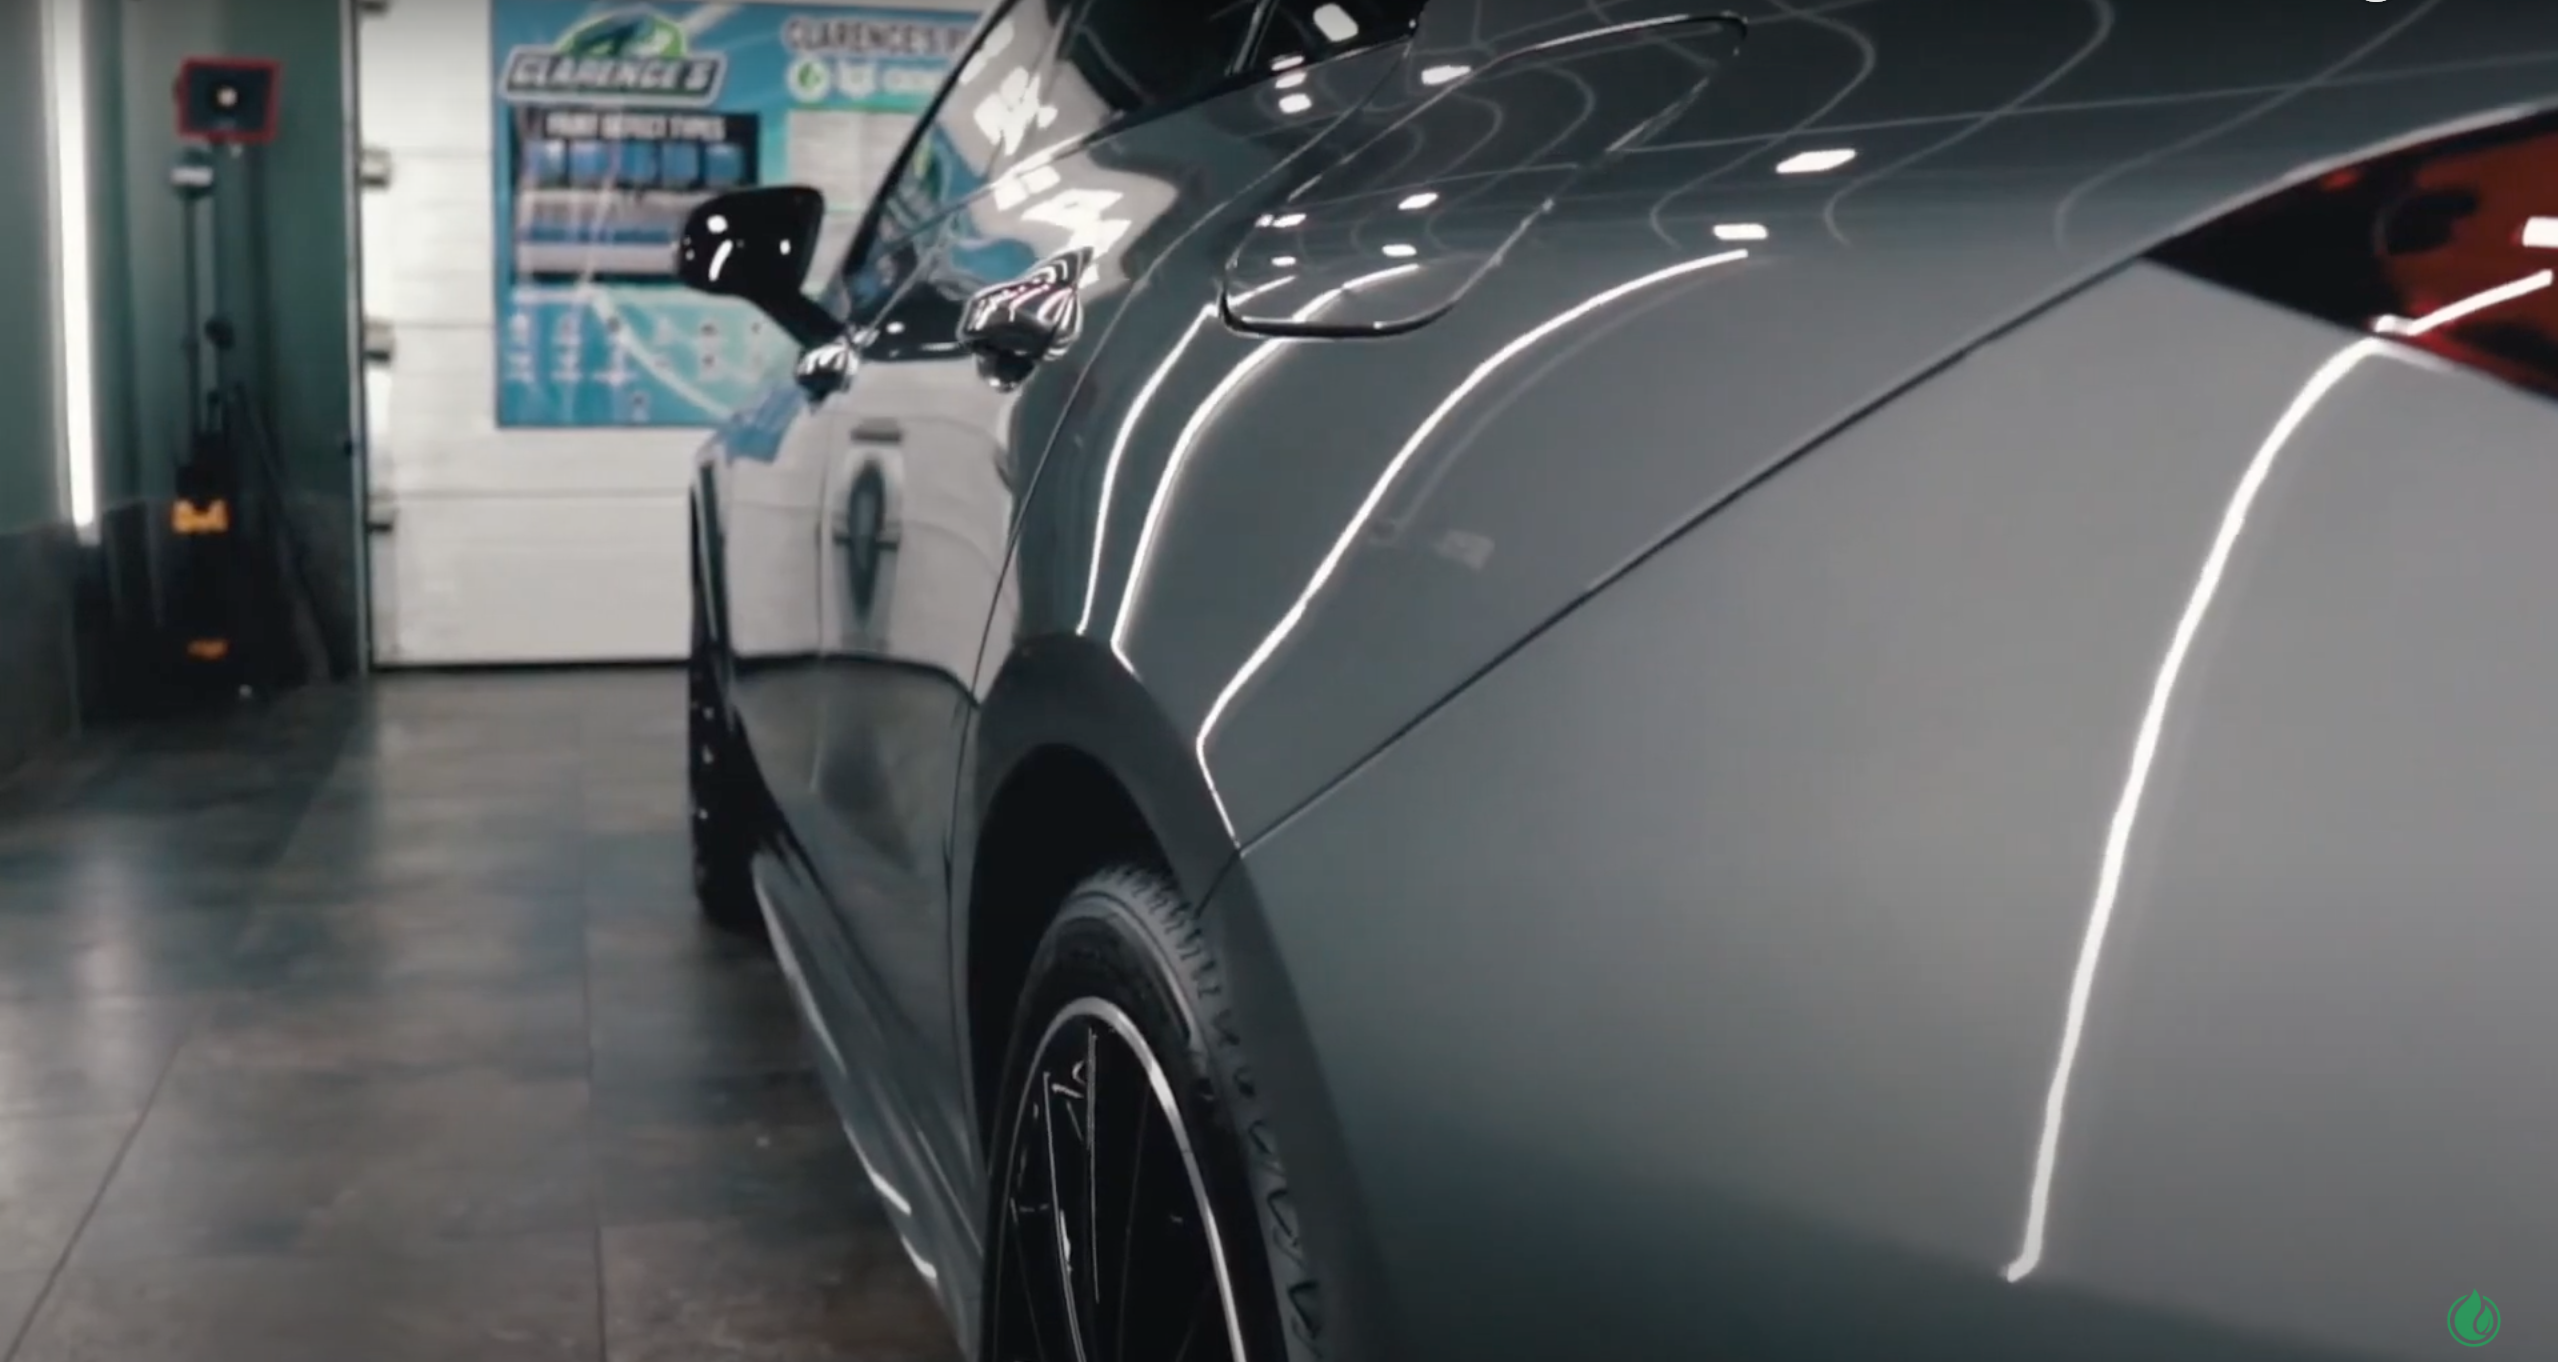
Detecting high spots on lighter coloured cars is MORE DIFFICULT. This is both a bonus and a problem. While darker coloured cars, like black, tend to show off their high spots almost immediately (and also inspiring a colourful vocabulary from detailers), light-coloured cars hide their flaws well. The benefit is that most flaws may not be so highly noticeable. The problems arise when it appears and becomes too late for a quick fix!
Detailer Tip #4💡: Inspect the coating immediately after application to avoid the affected areas from curing further.
The best way to combat high spots is to prevent them!
A wider and softer block decreases the likelihood of heavy applications. But the most important thing is buffing off any excess coating and levelling the coating to perfection. We also found that using multiple microfiber cloths works well in levelling and removing excess coatings.
The first buff generally removes the “peaks” of the high spots. These are the thicker areas that have not cured/flashed as fast as the others. The second buff works to level out the coating by spreading it out. A third buff addresses any areas that they might have missed (totally optional).
How can you tell if the ceramic coating has evenly spread out when it’s still wet? Some rely on visual cues, such as mild streaks or an unusual gleam. While others are able to tell by relying on their acute sense of touch.
“What do I do if there’s a high spot?”
If you do stumble upon a high spot, ask yourself, “How long has it been since the vehicle was coated?”
This is crucial because the solution is highly dependent on the amount of time the coating has been applied. When you got the answer to your question, read up on which is the best solution for you:
- You spot it right away, wipe it off using a damp towel, and then, a dry towel subsequently, buff it off. Edgeless microfibers like our microfiber coating removal towel would reduce scratching and help you with the entire process.
- After several hours but not more than 12 hours, apply a small layer of coating, approximately 1- 2 drops onto an applicator, and apply over the affected area, allowing the fresh coating to activate the cured coating. Once it has activated, buff off to level the coating. The high spots will break down and even out. Be sure to not layer the coating generously as it will worsen the condition.
- After a couple of days or more, it’s harder to remove high spots after it cures completely. If this occurs, you can try to remove it with some ecoclean multi or by mechanical polishing.
- Months! (which does not happen often), you will need to use polisher and polishing pads; orange heavy polishing pads or a yellow medium polishing pad to remove the ceramic coating.
“What do I do if the paintwork is bad?”
Preparation is key. Paint correction work should be done using our F series (you can read about our F series here) if there are any scratches and marks before coating any surfaces. Prepare the surface with our Ecoclean Precoat to remove any grease, oil residue, and impurities to ensure the coating adheres to the paint. Begin coating your surface with our recently released, 9H rated graphene reinforced hybrid coating, Ecocoat Quartz+. Watch our how-to video here:
The most important tip to remember is to not rush the coating process. Relax, take your time and do your best!
Visit www.iglcoatings.com, check us out on Facebook & Instagram, or email us at marketing@iglcoatings.com for any further questions! We are waiting for ya!